
Hello dev’s, welcome to for-devs.com! When we were starting with AWS ecosystem, surely, we had questions like how to launch my first EC2 instance? Today, that won’t be a problem anymore. In the world of cloud computing, Amazon Web Services (AWS) is a leading provider of on-demand computing resources. One of the most fundamental tasks in AWS is launching an Elastic Compute Cloud (EC2) instance. This post will provide a brief overview of how to launch your first EC2 instance with AWS. Whether you’re a seasoned AWS user or a beginner, this guide will help you get started with EC2.
Next, we share a brief overview of how to do it following the easy steps mentioned below:
Go to your AWS account and launch your EC2 instance
- First, Log-in to your account and Navigate to the EC2 dashboard.
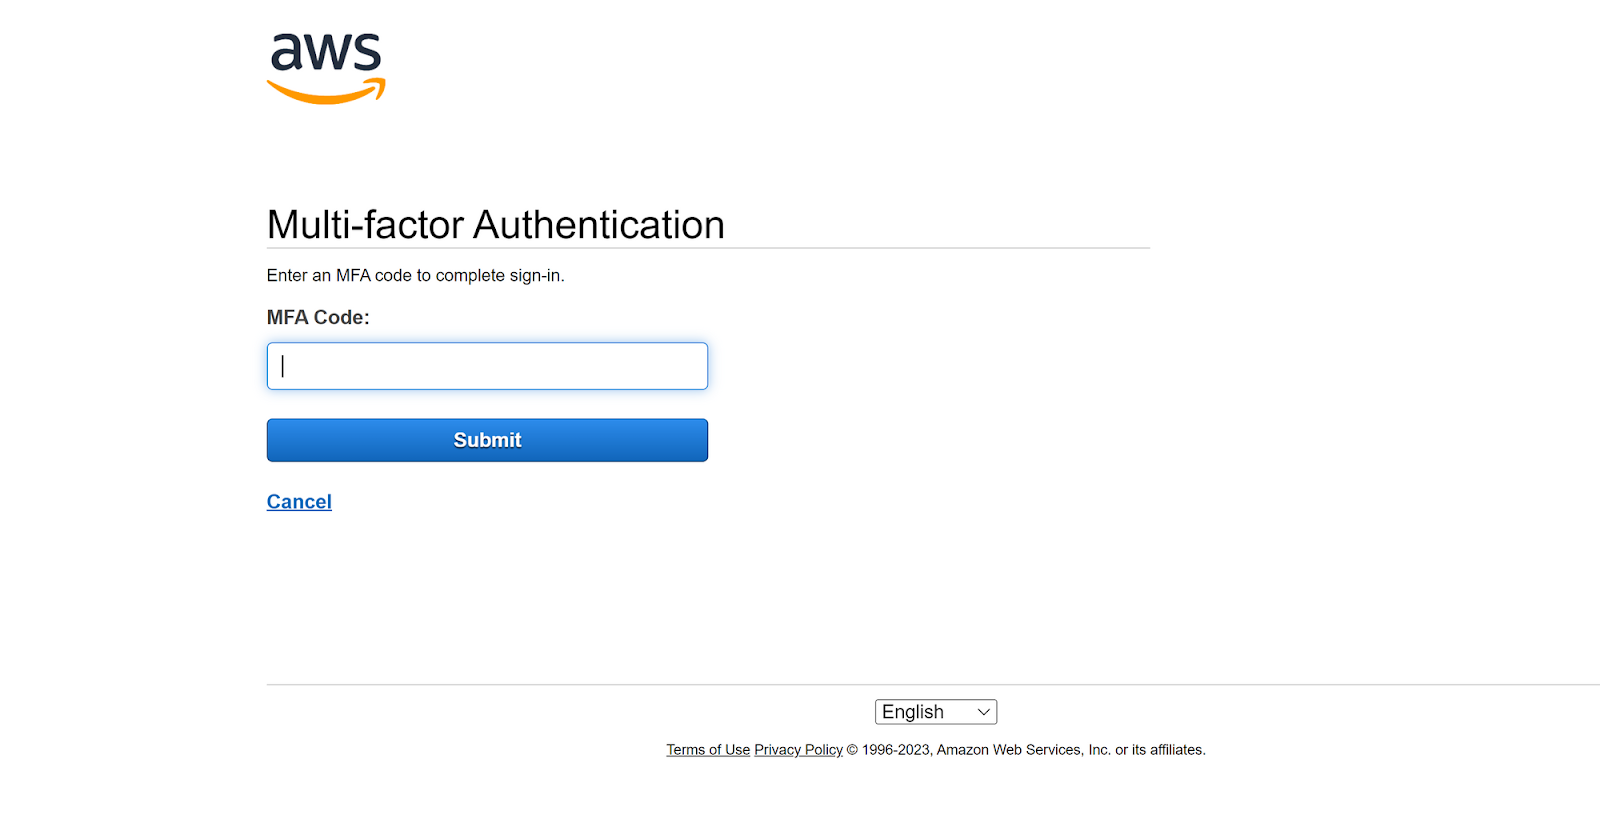
- If the multifactor authentication (MFA) is active, provide the code.
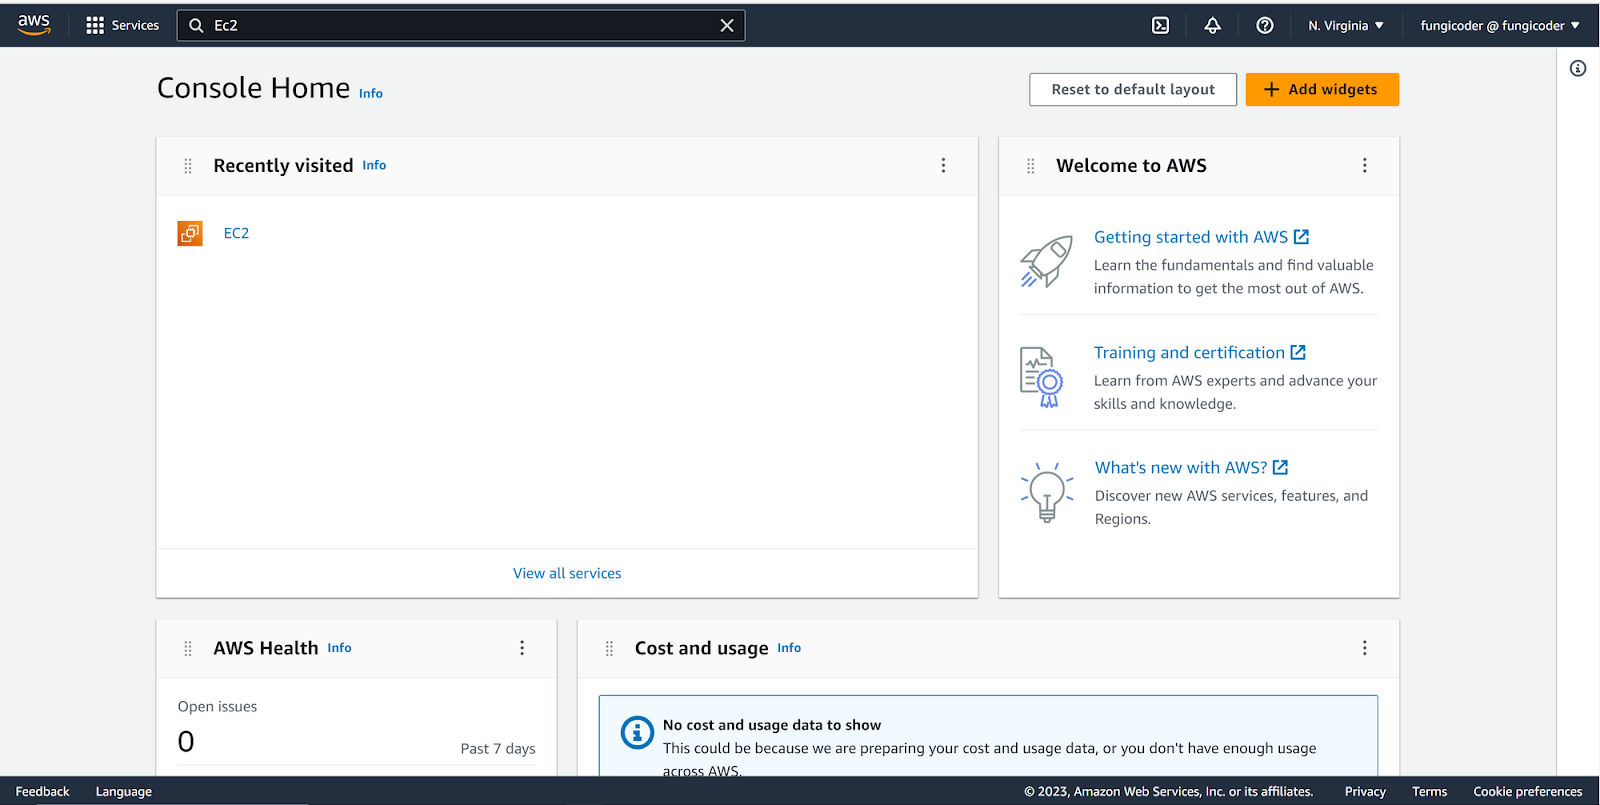
- Now, you are at AWS console home page, start the set-up clicking the EC2 instance icon:
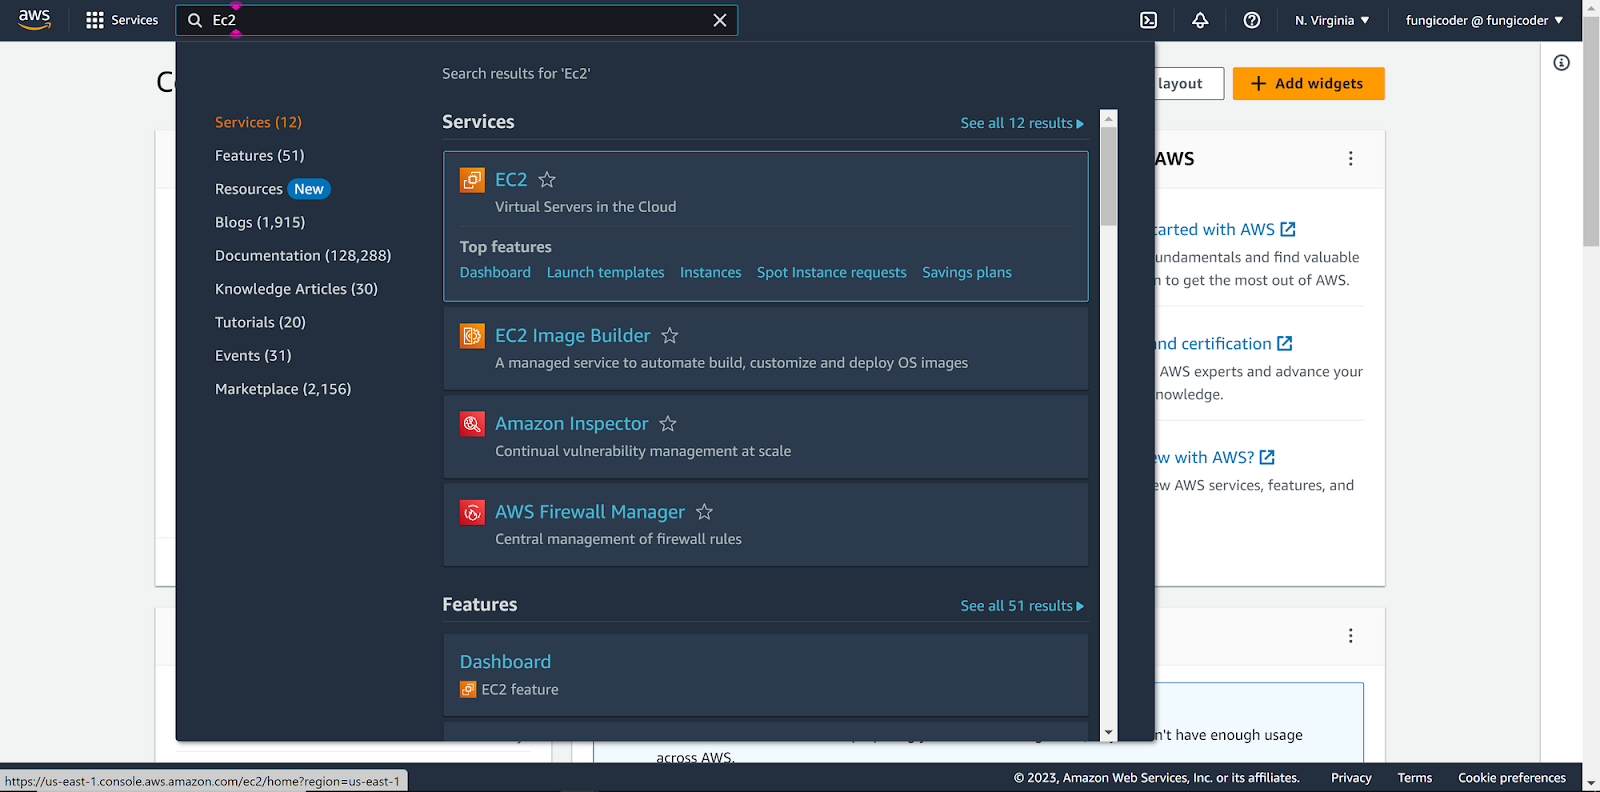
- If you don’t see it, find it in the search bar:
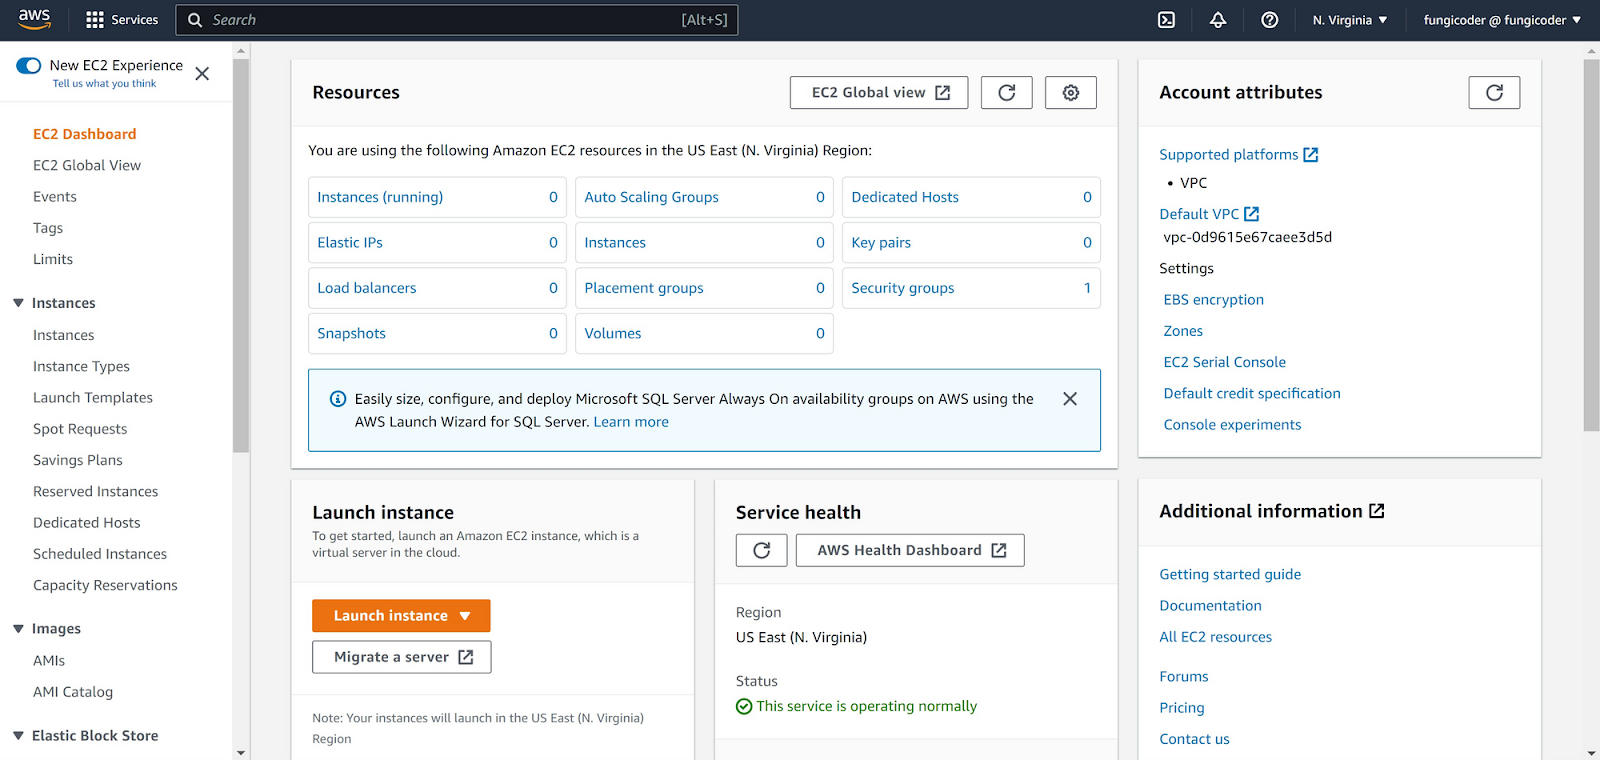
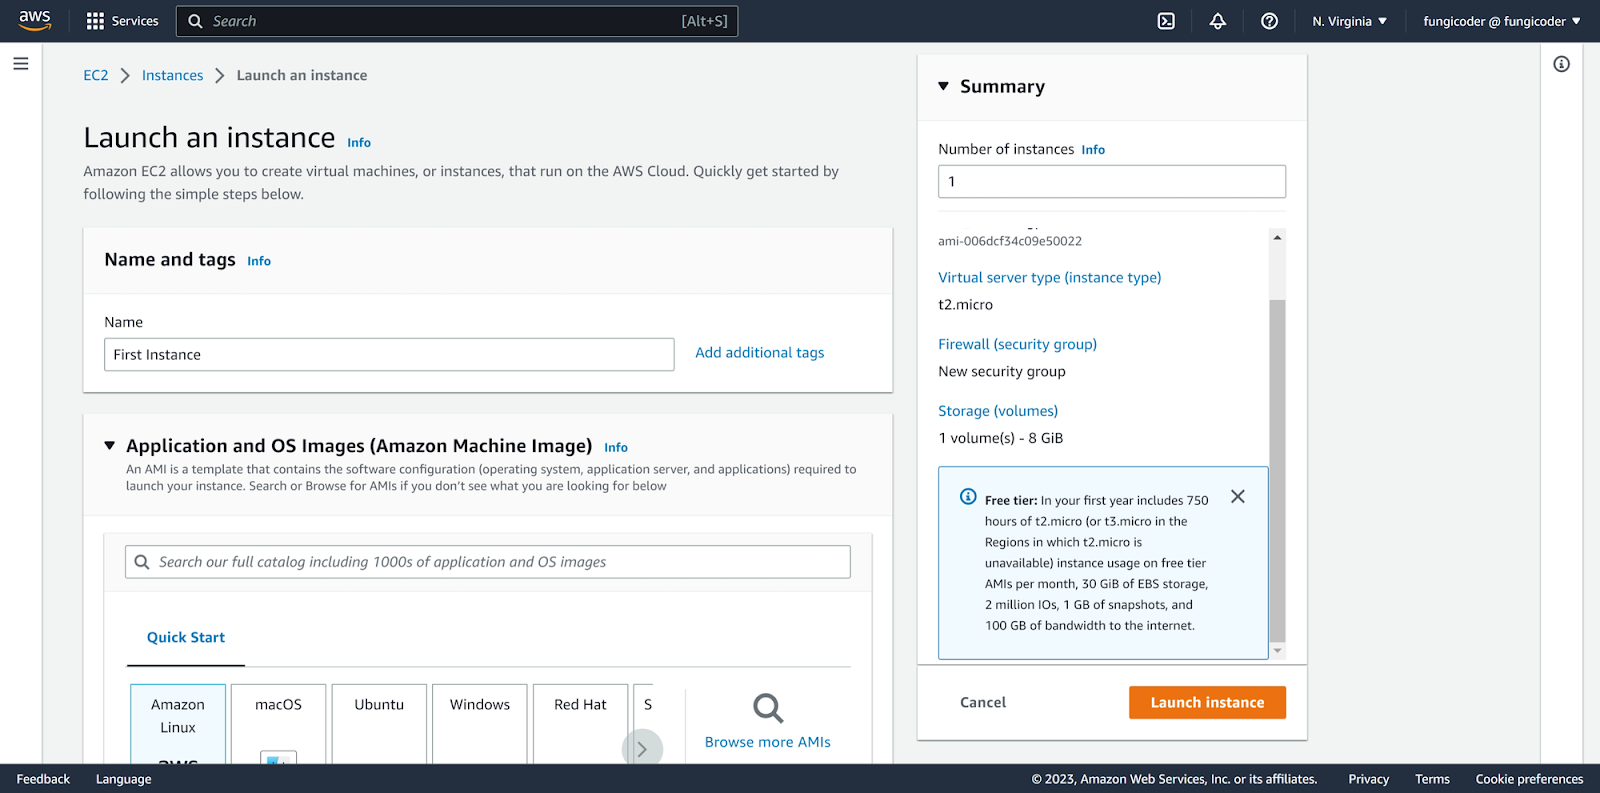
- Click on the “Launch Instance” orange button to start the instance creation wizard.
- Name the instance.
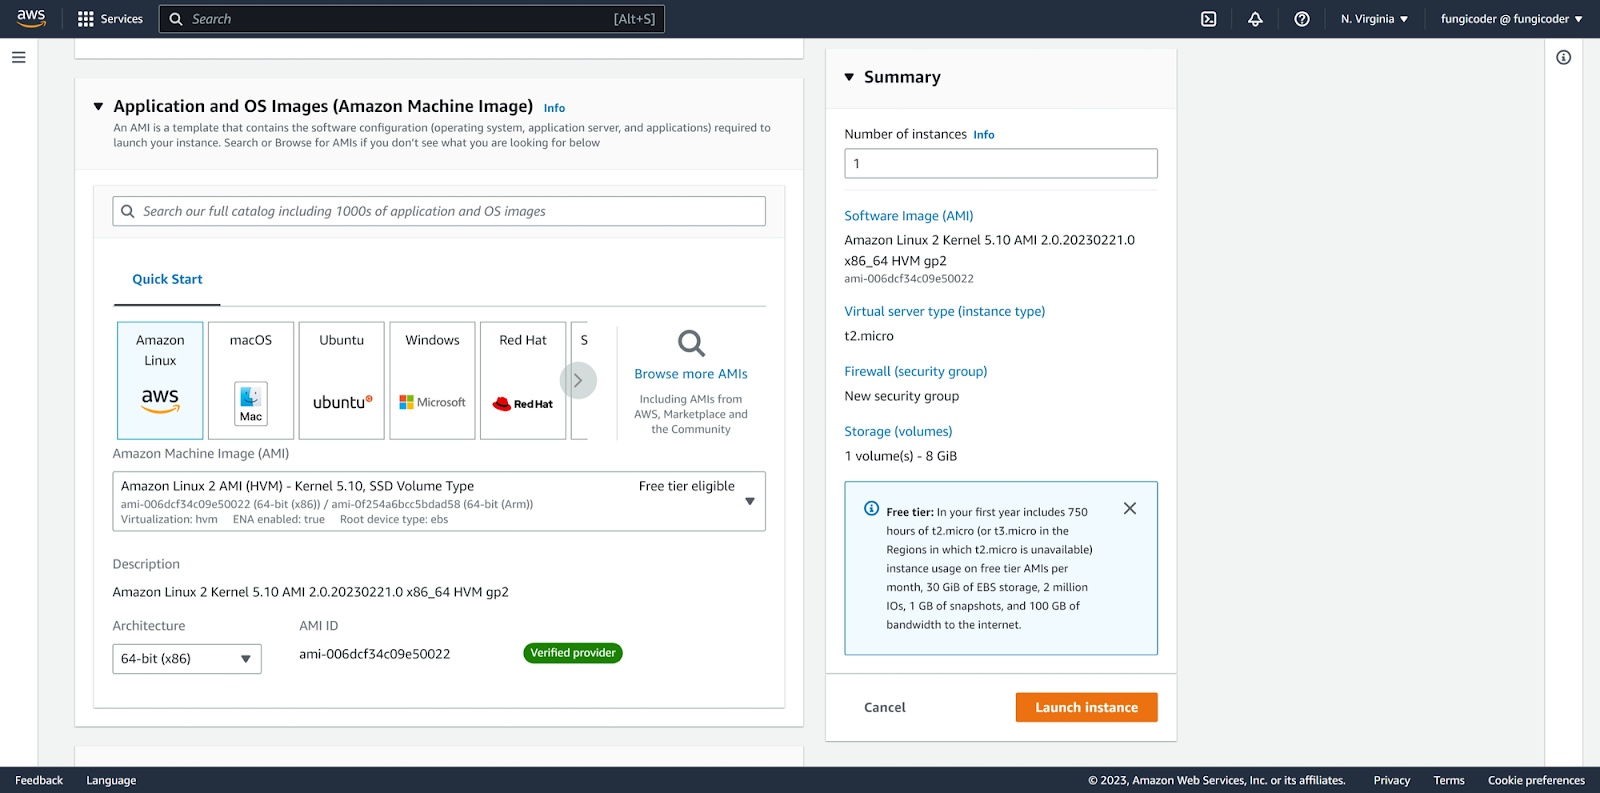
- Choose an Amazon Machine Image (AMI) that suits your needs. An AMI is a pre-configured virtual machine image that provides the necessary operating system and other software components for your instance.
- Select an instance type based on the resources you require. The instance type determines the amount of CPU, memory, storage, and network capacity that your instance will have. I selected a t2.micro that is a free tier eligible type.
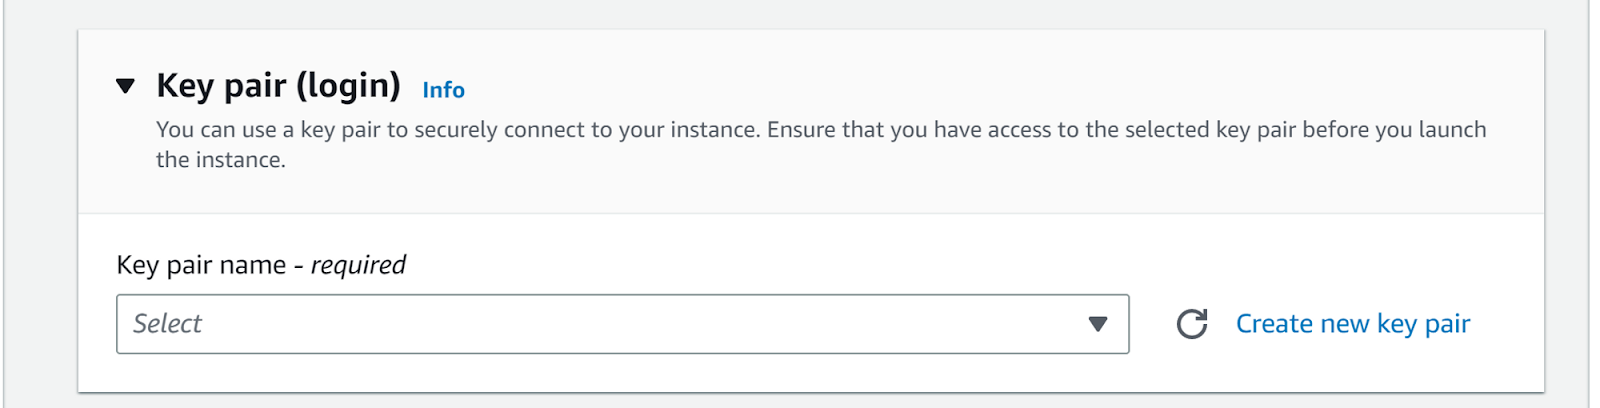
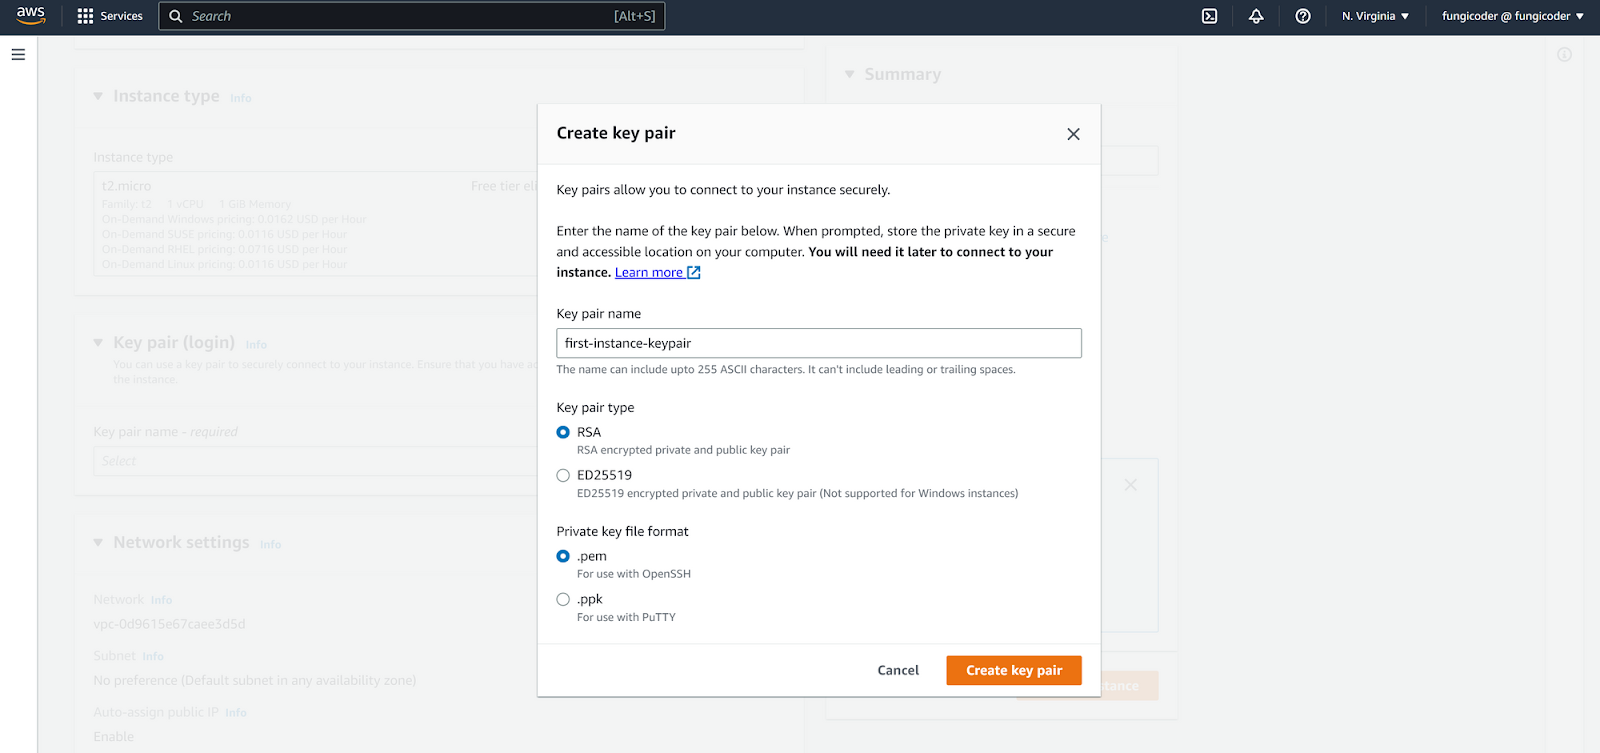
- Create your new key pair to connect securely to your instance, or select one if there is.
- Set a name, type, and the file format for your key pair.
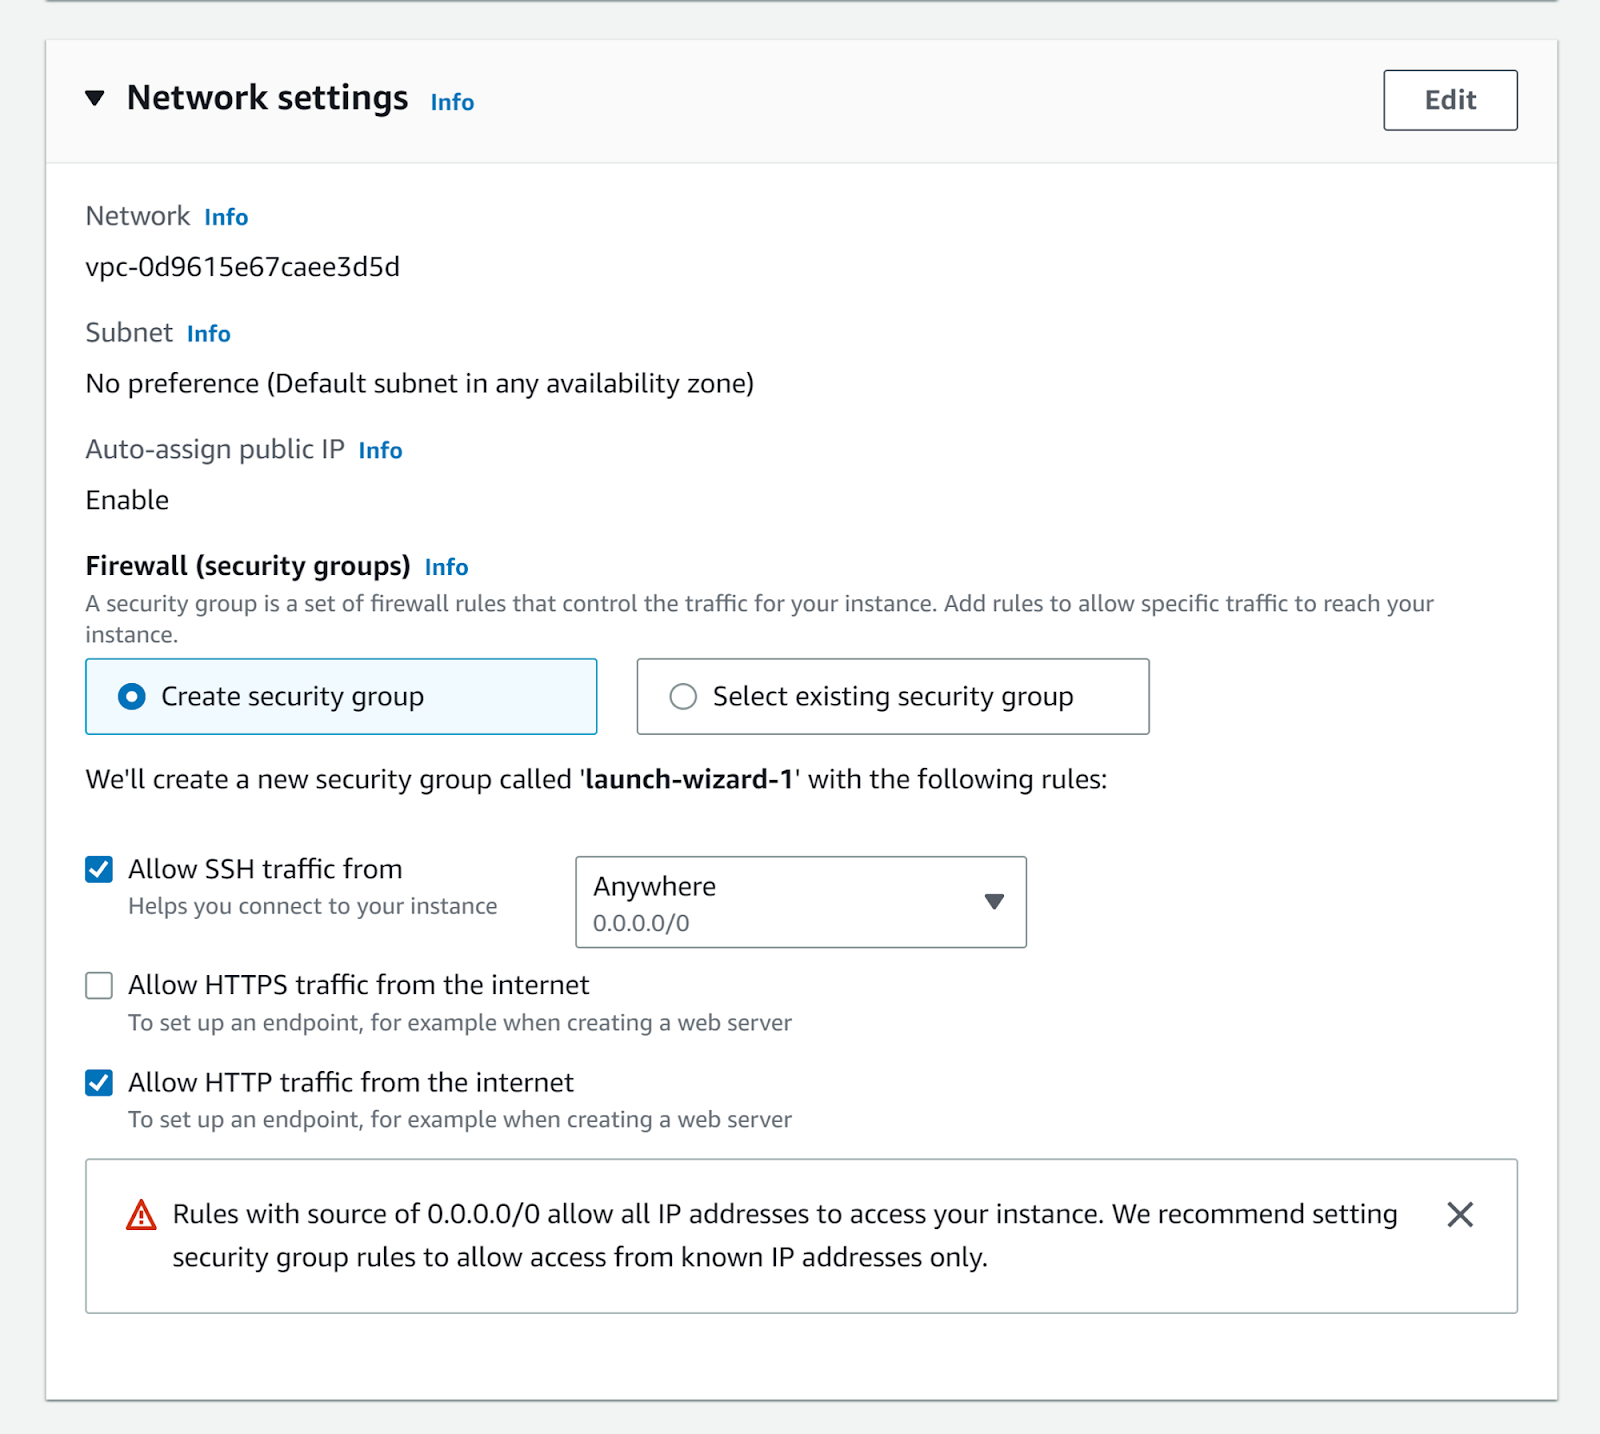
- Configure the Network details. Such as the VPC, the subnet, and the security group to allow incoming traffic to your instance, and define the rules to restrict access. If you need to add more rules, click the Edit Button in the top right corner of this box of setting.
- Add storage by selecting the size and type of the root volume for your instance.
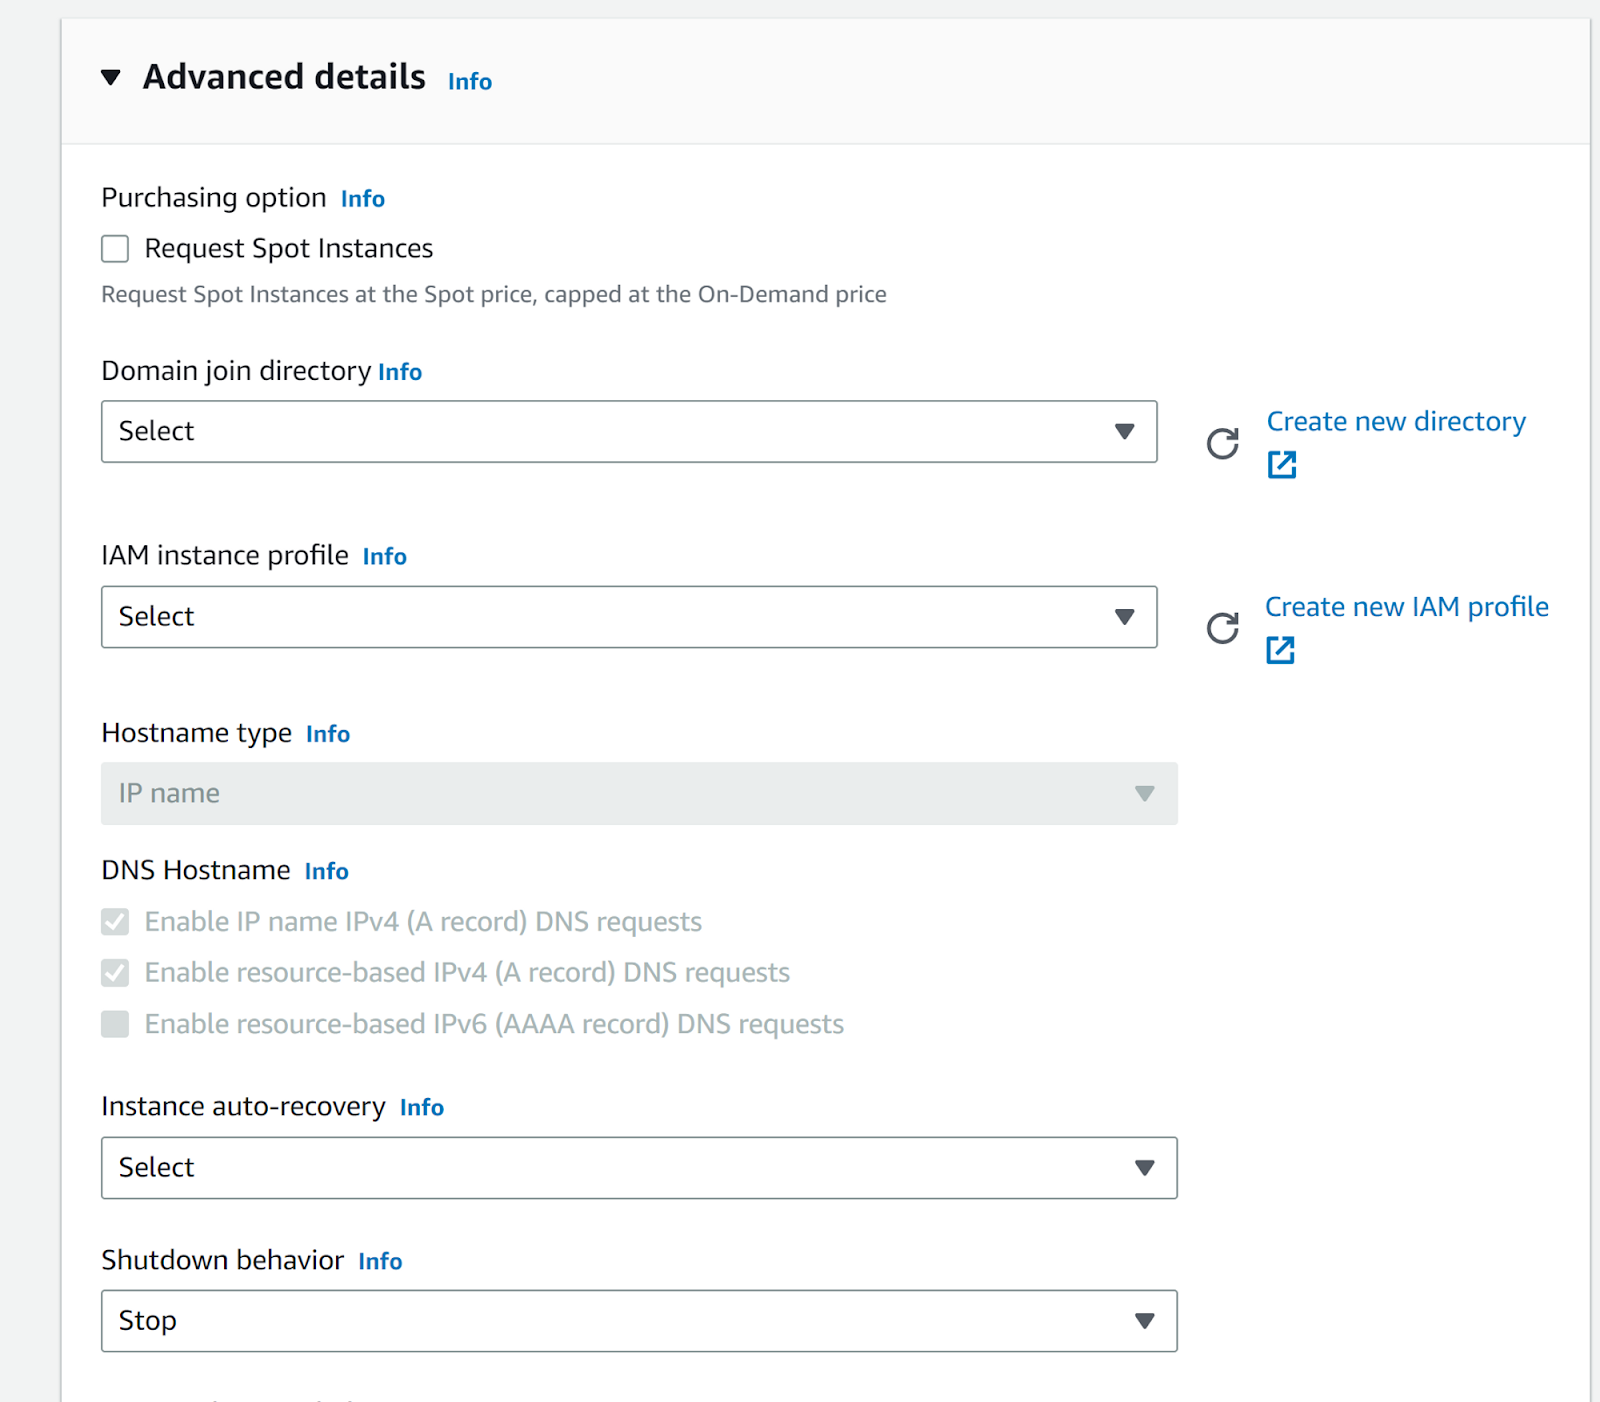
- Review the instance advanced details. We’ll skip all the first options in this section, scroll down all the way to the bottom. There is the user data text box.
- Once there, paste some commands to run it. The script is going to be executed when the instance is first started and only once in the whole life cycle of the instance. This is a Bash script that can be used as user data to configure a newly launched Amazon EC2 instance.


#!/bin/bash
# Use this for your user data (script from top to bottom)
# install httpd
yum update -y
yum install -y httpd
systemctl start httpd
systemctl enable httpd
echo "<h1>Hello World from  $(hostname -f)</h1>" > /var/www/html/index.html

Here is a breakdown of some lines of code:
- This command updates all installed packages to their latest versions:
yum update -y
- This command installs the Apache web server:
yum install -y httpd
- This command starts the Apache web server:
systemctl start httpd
- This command enables the Apache web server to start automatically at system boot:
systemctl enable httpd
- This command creates an
index.htmlfile in the/var/www/htmldirectory and writes the specified HTML code to it. The HTML code includes the hostname of the instance, which is obtained using the hostname-fcommand enclosed in the$()syntax. When a user accesses the web server, they will see a"Hello World"message along with the hostname of the instance:
echo "Hello World from $(hostname -f)" > /var/www/html/index.html
Finally, Start the EC2 Instance
For the summary section, we want to start one instance, and review that everything is ok.
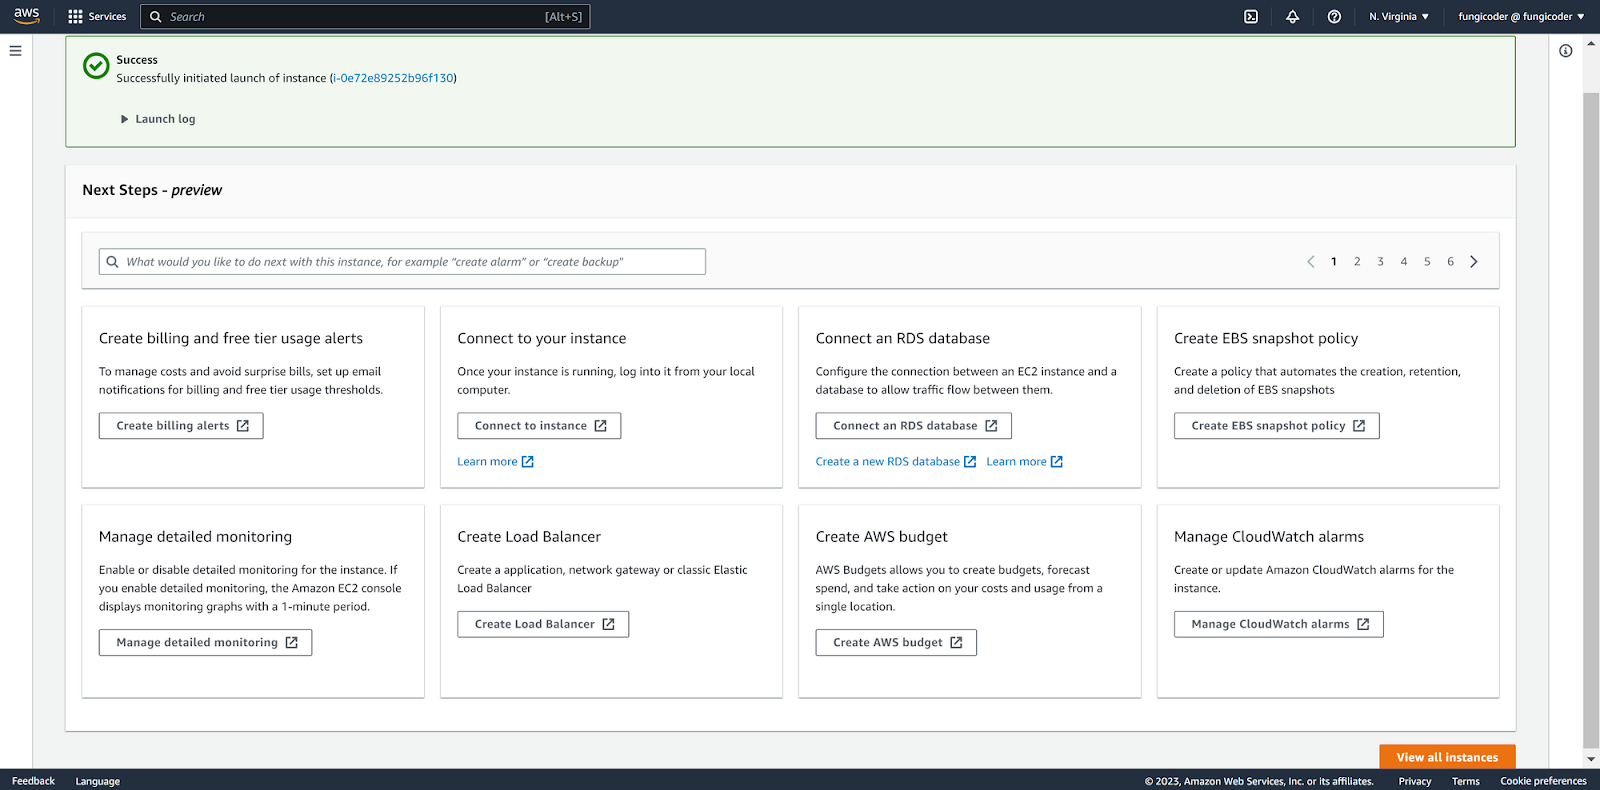
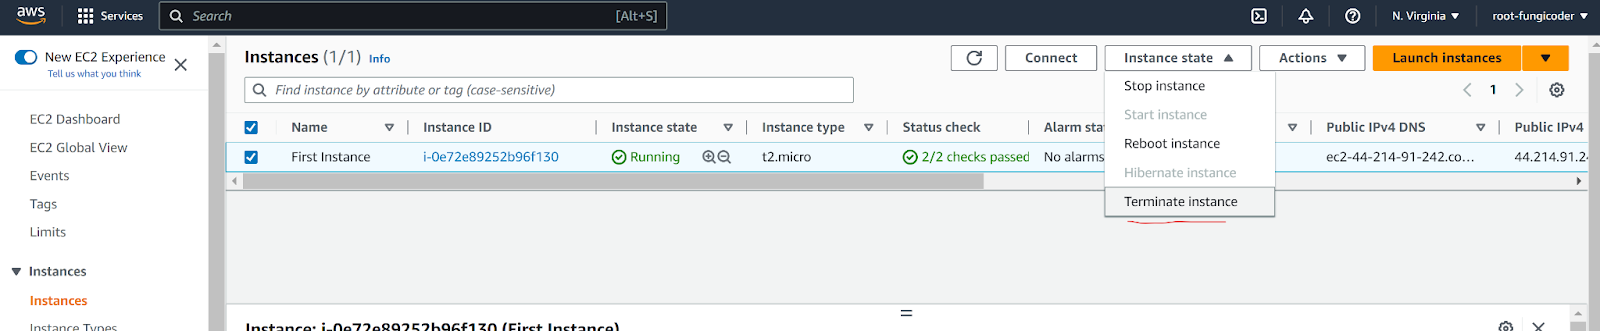
- Launch the instance and wait for its initialization. When the instance is launched, move on to the instances section in the EC2 console, or simply press the “View all instances” button at the right bottom corner.
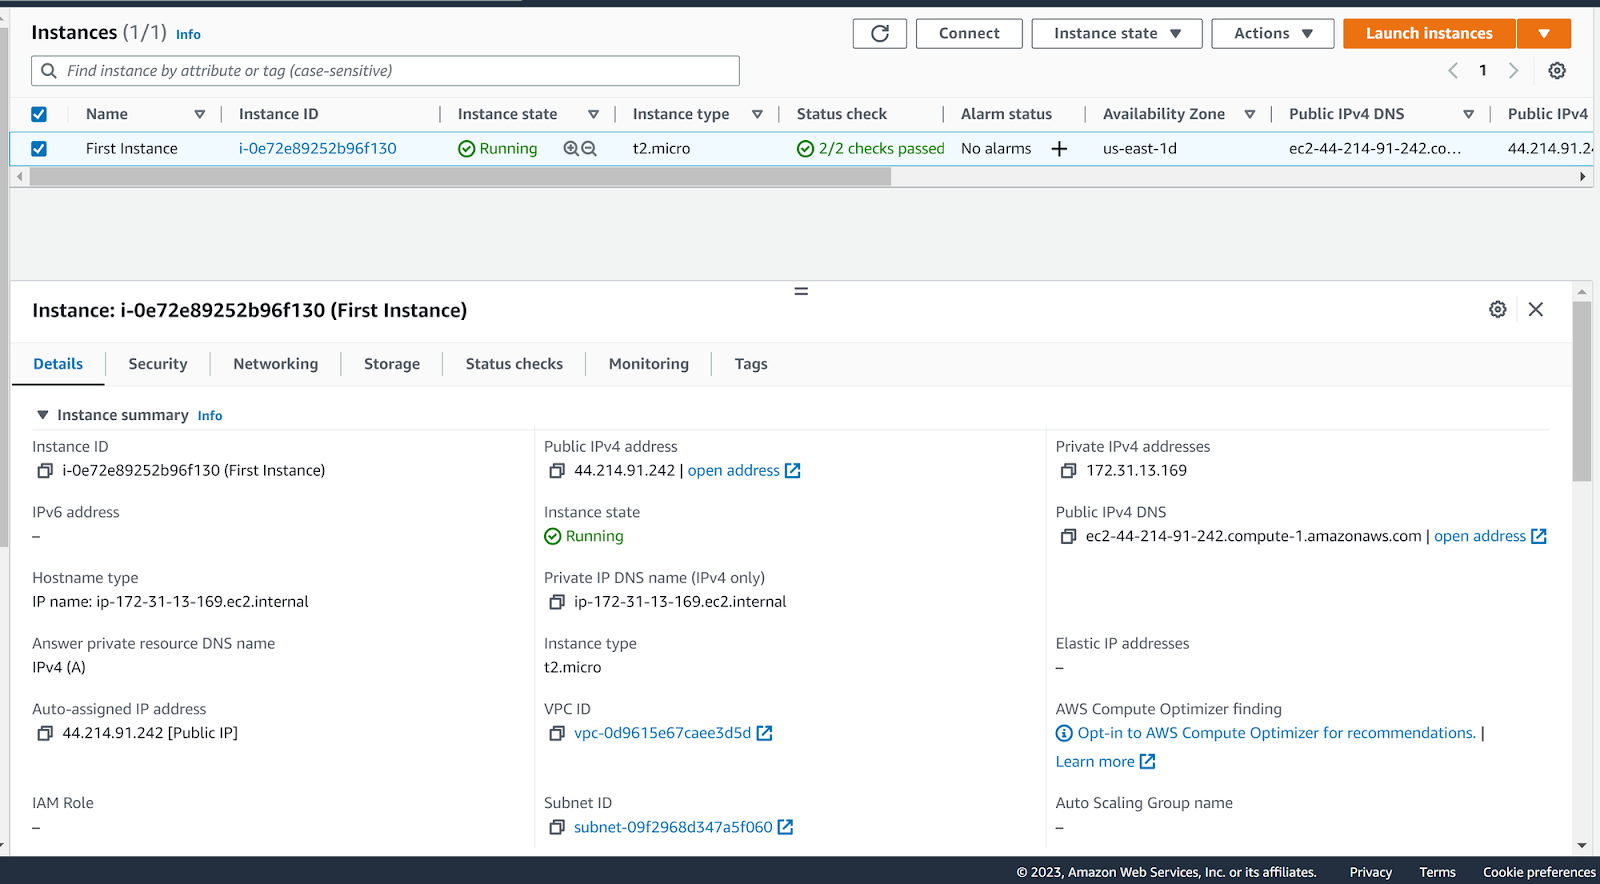
- You’ll see the instance launch.
- When the instance is launched, move on to the instances section in the EC2 console, or simply press the “View all instances” button at the right bottom corner.
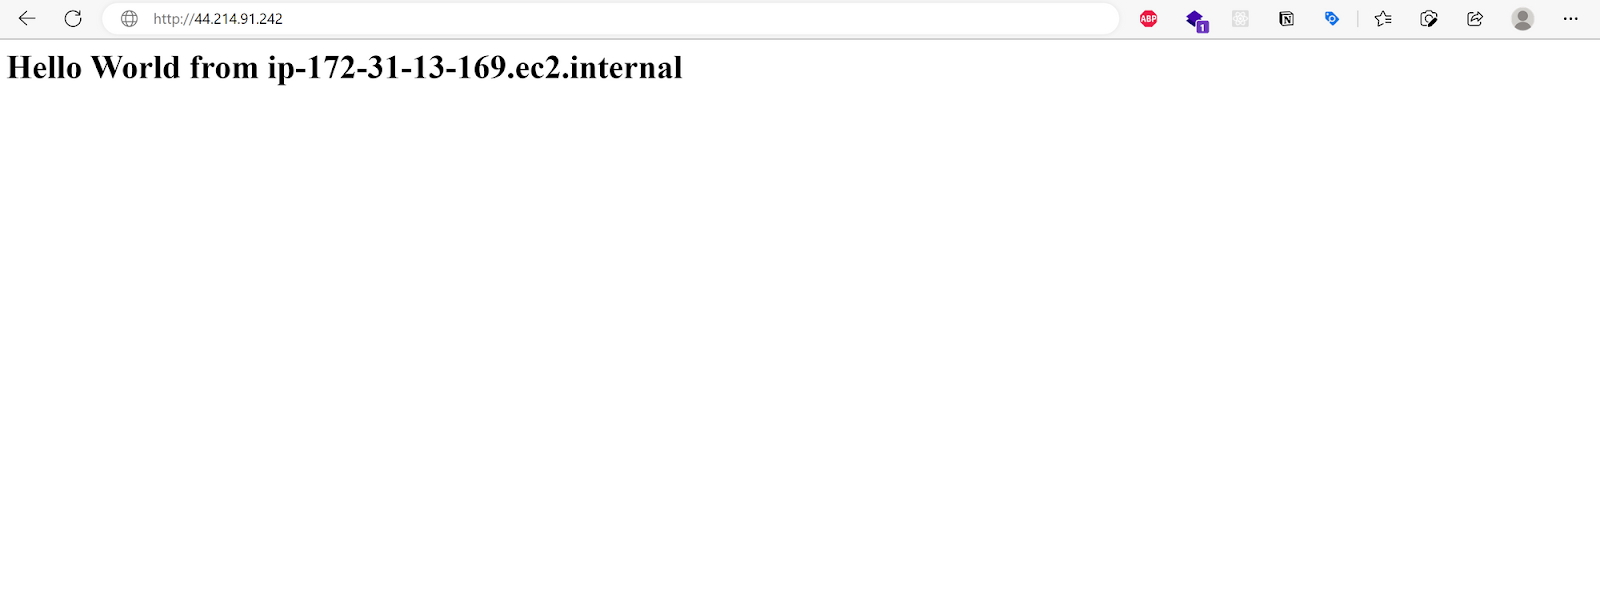
- Once the instance is launched, you can connect to it opening your public IP address in the browser, something like this: http://your-instance-ip
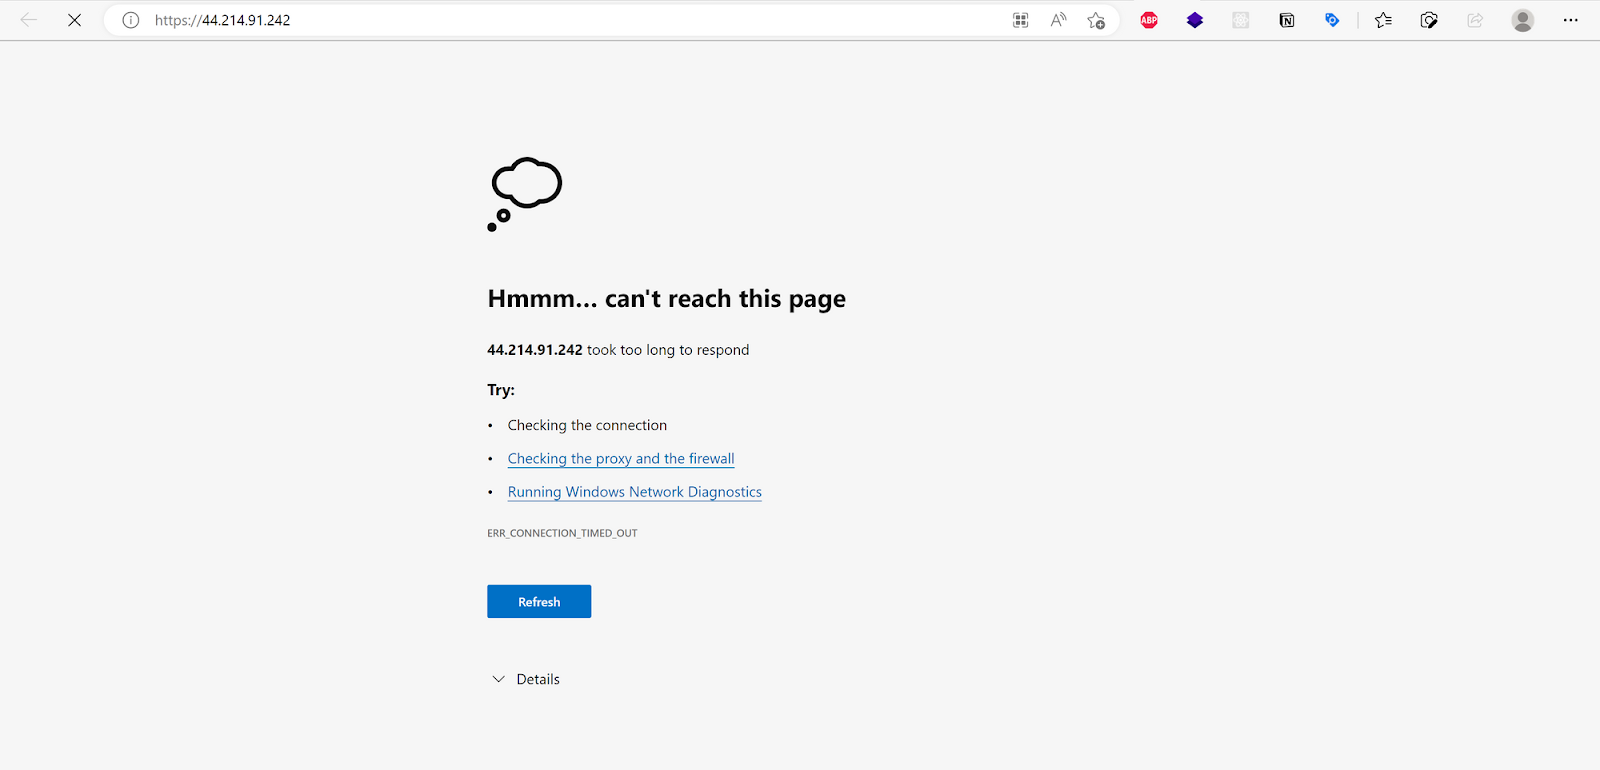
- We had set the network rules to allow only http protocol. To avoid this case, be sure that the URL to your instance starts with http, not https or change.
- Now you can see the Hello World example page correctly.


Note: remember that you have to stop or terminate the instance if not is being used to avoid extra charges on your account.
Congratulations! Now, you’ve launched your first EC2 instance, furthermore, with a “Hello World” example! Learning how to launch an EC2 instance is a fundamental task in AWS, and it is essential to understand the basics to fully utilize the AWS platform’s capabilities. With this guide, you have learned how to launch your first EC2 instance. And now, you are ready to explore and experiment with the different configurations and options available to you. Keep learning and exploring to take full advantage of AWS on for-devs.com. Thanks for reading.

